Dog Tags


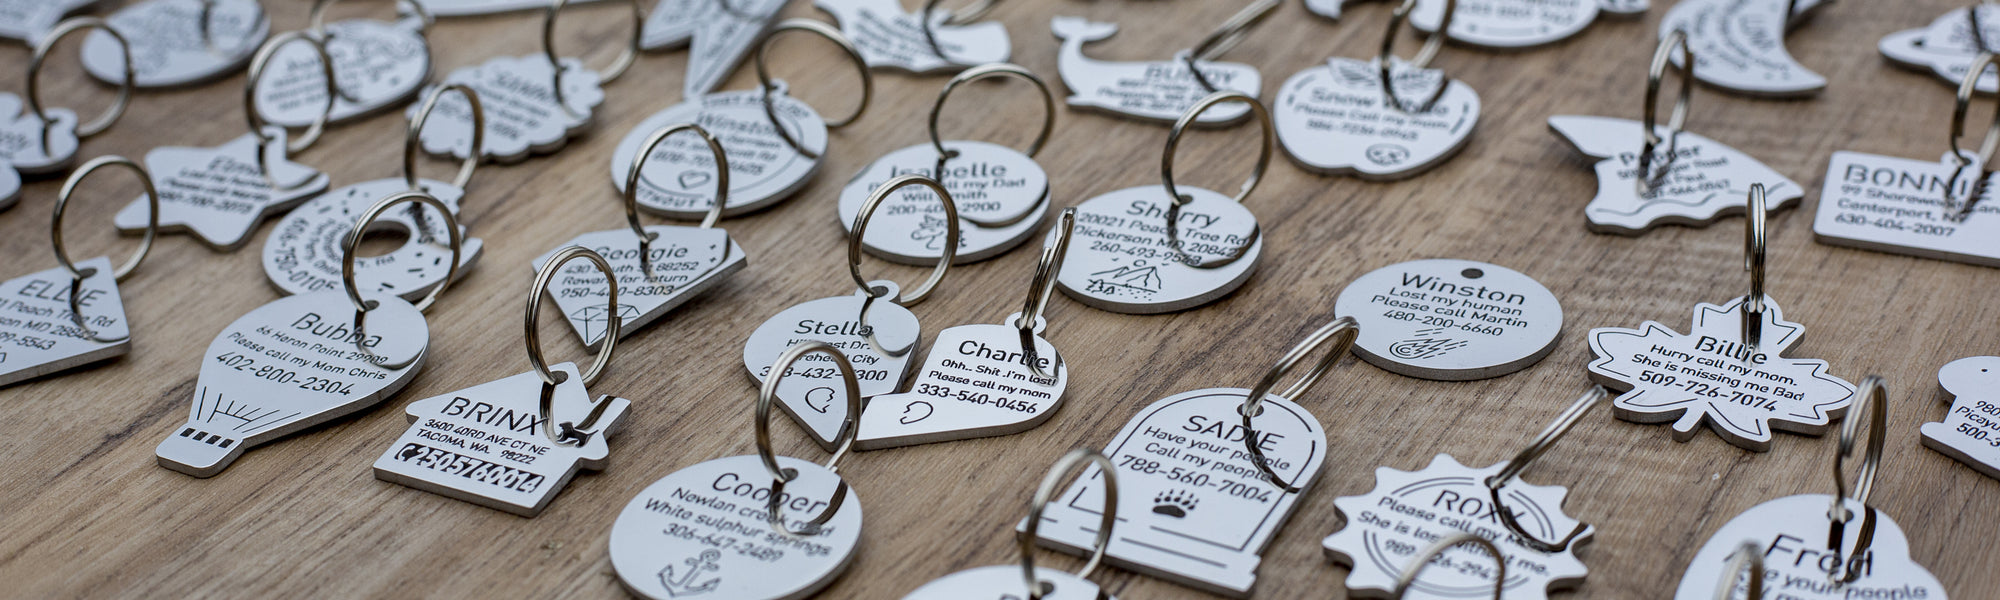
Attachment styles that stay put and stay quiet.
Every shape, laser-cut and custom engraved.
Laser Engraving Techniques: Our Expert Guide for Top Results


Laser engraving techniques have revolutionized the way we add intricate details to various materials, including glass, veneer, leather, and artwork. In our journey, we’ve discovered that precision is crucial, especially when legal interpretations are on the line.
We’ll share insights into the most effective methods and tips for achieving clean, precise engravings with optimal print design and results every time. Whether you’re a seasoned professional or new to this art form, join us as we delve into the world of laser engraving, target surfaces, and uncover its full potential to paint and print.
Key Takeaways
-
Understand the basics of laser engraving to work effectively across different materials, considering their unique properties for optimal results.
-
Utilize relief and concave engraving techniques for precision in your designs, enhancing the depth and texture of your engravings.
-
Recognize the versatility of laser engraving by learning how it can be applied to a variety of materials such as acrylic, aluminum, and marble, each requiring specific adjustments for quality outcomes.
-
Differentiate between laser engraving, cutting, and etching to select the appropriate method for your project and achieve the desired effect.
-
Follow essential tips for successful laser engraving, including proper machine calibration, material preparation, and focusing techniques to ensure high-quality finishes.
-
Explore color filling and the creation of contrast in materials to make your engravings stand out, adding value and appeal to your work.
Fundamentals of Laser Engraving for Various Materials
Power Settings
We understand that laser power is crucial when working with different materials, such as metal, for raster engraving on the target surface. A high-power laser setting might be ideal for hard materials like metal, but it can burn through softer ones during convex engraving on the surface.
For example, engraving brass with a laser requires more power than etching lines into a wooden surface. We always start by testing on scrap metal with the laser to find the perfect balance for brass lines. This ensures we don't damage our final product.
High laser power quickly cuts deep into thick materials. But if we use too much laser power on thin plastic, it could warp or melt along the vector lines.
Material Thickness
The thickness of brass directly affects how deeply the laser performs relief engraving with vector control. Thicker brass items need more time under the laser beam to achieve depth in relief engraving.
If we're aiming for a shallow relief engraving on a thick piece of wood, less time is needed with the laser set to vector mode. It's all about finding that sweet spot where the laser-cut brass vector looks good without wasting time or resources.
A rule we follow: The thicker the brass item, the longer and slower our laser approach needs to be.
Speed Adjustments
Different speeds are key for various materials like wood, glass, plastic, and brass when using a laser. Fast laser speeds can lead to faint engravings on brass while slow speeds deepen them.
With delicate glass, a slow laser speed prevents cracking but may require multiple passes. For plastics prone to melting like acrylics, faster laser speeds avoid heat build-up which could ruin our work.
We adjust laser speed based on whether we want fine lines or bold statements in our designs.
Achieving Precision with Relief and Concave Engraving
Relief Techniques
We understand that laser relief engraving creates a stunning three-dimensional effect on various materials. To achieve this, we carefully select our laser design and adjust the engraving speed to suit the material's properties.
In laser relief engraving, we remove layers from the surface to form an image that stands out. Think of it like sculpting with light. We control how deep the laser cuts into the material for each detail in our design. This can turn a simple brass plate into an intricate piece of art using a laser.
Concave Depths
When tackling concave engravings, precision is key. Here, we're creating smooth inward curves or hollows on surfaces such as metal or wood using a laser.
To ensure precise depths, we focus on factors like laser power and focal length. The right settings let us carve out detailed recesses with the laser without going too deep or staying too shallow. It's all about finding that sweet spot where every laser cut reflects our intended design perfectly.
Laser Engraving on Acrylic, Aluminum, and Marble
Acrylic vs. Aluminum
Laser engraving on acrylic and anodized aluminum is quite different. For acrylic, we use a lower laser power setting to achieve clear cuts without melting the material. The laser easily etches away the top surface, creating a smooth finish.
For anodized aluminum, higher power is essential. It removes the top layer with a laser to reveal the metal beneath. We ensure proper heat dissipation to avoid warping.
-
Pros of acrylic engraving:
-
Less power needed.
-
Smooth edges.
-
Cons of acrylic engraving:
-
Can melt if overheated.
-
Pros of aluminum engraving:
-
Durable marking.
-
Cons of aluminum engraving:
-
Requires careful heat management.
Polished Marble Finish
Marble requires a gentle approach for that polished look. We start with a high-resolution vector file for precision in laser art work designs on stone surfaces like marble.
We adjust our lasers finely to etch only the surface layer without penetrating too deeply into this delicate material.
-
Choose correct settings for depth and intensity.
-
Test on scrap piece first for perfect results.
Heat Challenges
Metal presents unique challenges due to its heat retention properties when interacting with a laser, compared with materials like plastic or wood. In metal laser engraving, particularly with items made from metals like steel or copper, managing excess heat is crucial.
We use short bursts of laser at high intensities followed by cooling periods when working with metals such as steel or copper—ensuring no damage occurs due to overheating.
Distinguishing Between Laser Engraving, Cutting, and Etching
Purpose Clarity
We understand that laser technology can be complex. Let's simplify it. Laser engraving removes material to create depth. It's used for detailed laser designs on various materials like acrylic, aluminum, and marble.
Laser cutting, however, goes through the material completely. It creates separate pieces or intricate cutouts in materials.
Lastly, laser etching changes the surface finish to mark it without significant depth.
Visual Differences
When we look at a piece that has been laser-engraved versus one that is cut or etched, the differences are clear. Engraved surfaces have noticeable depth and texture variations.
Cut edges reveal how cleanly a laser can slice through material with precision. They're sharp and often show a slight burn mark along the edge from where the laser worked its way through.
Setting Specifics
Now let’s talk about laser settings because they make all the difference between these processes.
-
The power of the laser determines if we are engraving or cutting; higher power will cut while lower power will engrave.
-
Speed also plays a role—fast speeds for lighter engravings and slower for deeper cuts.
-
Frequency affects how many times per second the laser fires; different frequencies suit different types of materials and desired outcomes.
Essential Tips for Successful Laser Engraving
Avoid Burning
We know how frustrating it can be to see your work ruined by laser burning. To prevent this, adjust the speed of the laser and regulate power settings. It's crucial to test these on a sample piece with a laser before engraving your final product.
For materials prone to burning, like wood, applying a masking tape over the surface helps protect it during laser engraving. Also, keeping the laser work area clean ensures debris doesn't ignite.
Design Quality
Consistency is key in laser engraving. We make sure our designs are uniform across all pieces by using laser templates. This way, each item receives an identical design transfer.
It's also important to regularly check and calibrate your laser machine. This maintains laser accuracy so that every piece comes out as expected.
Optimize Resolution
To optimize resolution in our engravings, we use high-quality images and adjust DPI (dots per inch) settings on our laser machine accordingly. A higher DPI often results in better detail but increases laser engraving time.
Here are some methods we suggest:
-
Use vector files for clear lines.
-
For photographs or detailed graphics, convert them into grayscale before engraving.
Insights into Color Filling and Material Contrast
Color Techniques
We know that laser engraving can create stunning visuals. But to make our laser engravings pop, we use color filling techniques. This involves adding color to the engraved areas.
For example, after laser engraving on wood, we might fill the grooves with paint. This brings out details in a bold way. We choose colors like red or blue for high visibility against lighter woods when using a laser.
-
Choose acrylic paints for their vibrant hues.
-
Apply carefully to avoid smudging outside lines.
Color fills give life to images and text. It's an easy way to add personality and style.
Contrasting Materials
Selecting materials with natural contrast is key too. Different materials show off laser engravings differently because of their inherent qualities.
Take colored woods as an idea; dark walnut contrasts well without extra work. The natural grain and precise laser enhancements elevate the look of our designs effortlessly.
But what about synthetic materials? We've learned that layers of different colors can create sharp contrasts—like a red laser dot against black tape, offering uniform visibility across all angles.
-
Use layered plastics for dynamic effects.
-
Experiment with light-on-dark or vice versa for best results.
Choosing the Right Laser Machine and Software
Machine Features
When looking for a laser machine, it's essential to consider the watt laser power. For intricate designs on small products, a low-power laser might suffice. However, larger projects may require a high-power laser that can handle extensive target areas.
We recommend checking for machines that offer adjustable settings. This flexibility ensures you can switch between high and low power levels as needed for the laser. It's not just about how much laser power; it's about having control over that laser power.
Software Precision
Next, let's talk software options. The right software gives us precise laser control over our designs. We look for options with intuitive interfaces and detailed settings adjustments.
Software should complement your machine’s capabilities perfectly. If we're working on complex patterns or need exact color filling from our previous section insights, laser precision is top priority.
Matching Needs
Finally, matching your project needs with laser machine capabilities is crucial. Let's say we're creating custom signs; we'd target a laser machine capable of handling both wood and acrylics with ease.
We always visit the manufacturer's web site to ensure their laser machines have the features we need before making a decision.
Safety and Maintenance in the Laser Engraving Process
Protective Eyewear
We understand the importance of safety during laser engraving. Protective eyewear is a must. It shields our eyes from harmful laser reflections.
Wearing proper safety glasses prevents potential eye damage. We always make sure everyone around the laser machine wears them too.
Machine Cleaning
Routine cleaning is key to prolonging our machine's life. Smoke residue can build up over time, affecting performance.
We clean the laser after every use to remove any debris or residue, especially from delicate components like lenses and mirrors.
Component Checks
Regular maintenance checks are crucial for smooth operation. We inspect critical parts for signs of wear and tear often.
Replacing worn-out pieces early saves us trouble later on. This care keeps our laser engraver running efficiently, ensuring quality work every time.
Summary
Throughout our exploration of laser engraving techniques, we've illuminated the versatility and precision that this technology brings to various materials. We've shared insights into the nuances of achieving detailed relief and concave engravings with laser technology, as well as the distinct processes involved in working with acrylic, aluminum, and marble. Our journey has differentiated between laser engraving, cutting, and etching, providing essential tips for success and delving into color filling strategies for material contrast. We've also guided you in selecting the right laser machine and software while underscoring the importance of safety and maintenance.
Our collective experience emphasizes that mastery in laser engraving comes with understanding its fundamentals and respecting the craft's intricacies. We encourage you to leverage this knowledge to enhance your projects, ensuring they stand out with professionalism and creativity. Let's continue to share our triumphs in laser engraving and inspire each other towards greater craftsmanship. Share your stories with us and join the community of skilled artisans pushing the boundaries of what's possible with laser technology.
Frequently Asked Questions
What are the basic principles of laser engraving on different materials such as glass, stone, veneer, and plastics?
Laser engraving involves removing material layers with a focused light beam to create designs. Each material—wood, plastic, metal—requires specific settings for optimal results.
How does relief and concave engraving differ in precision?
Relief engraving carves into the material while concave creates indents, both demanding precise control over laser intensity and movement for detailed outcomes.
Can you laser engrave on materials like acrylic, aluminum, and marble using a raster engraving process on an engraving table for deep engraving?
Yes, acrylics produce a frosted appearance when engraved; aluminum requires low-power lasers for marking; marble achieves high-contrast etchings suitable for decorative purposes.
How is laser engraving distinct from cutting and etching?
Laser engraving removes surface layers creating depth; laser cutting fully penetrates the material; laser etching lightly marks the surface without significant depth alteration.
What are some essential tips for successful laser engraving?
Ensure correct focus distance, appropriate laser power settings based on material type, and maintain clean optics to achieve high-quality laser engravings consistently.
What do color filling with paint, material contrast between colored woods and glass, and print involve in laser engraving?
Color filling adds hues post-laser engraving to enhance visibility; contrasting materials like dark wood or anodized metals naturally highlight engraved areas due to color differences after the process.
How do I choose the right laser machine with an engraving table and software for my raster engraving projects to optimize the engraving process and speed?
Select machines based on your primary materials' requirements. Compatibility with versatile software offering design flexibility is also crucial.
Why is safety important in the laser engraving process?
Lasers can cause burns or eye injuries if mishandled. Proper use of protective equipment and adherence to maintenance protocols ensures operator safety during operation.
Leave a comment
Comments will be approved before showing up.