Dog Tags


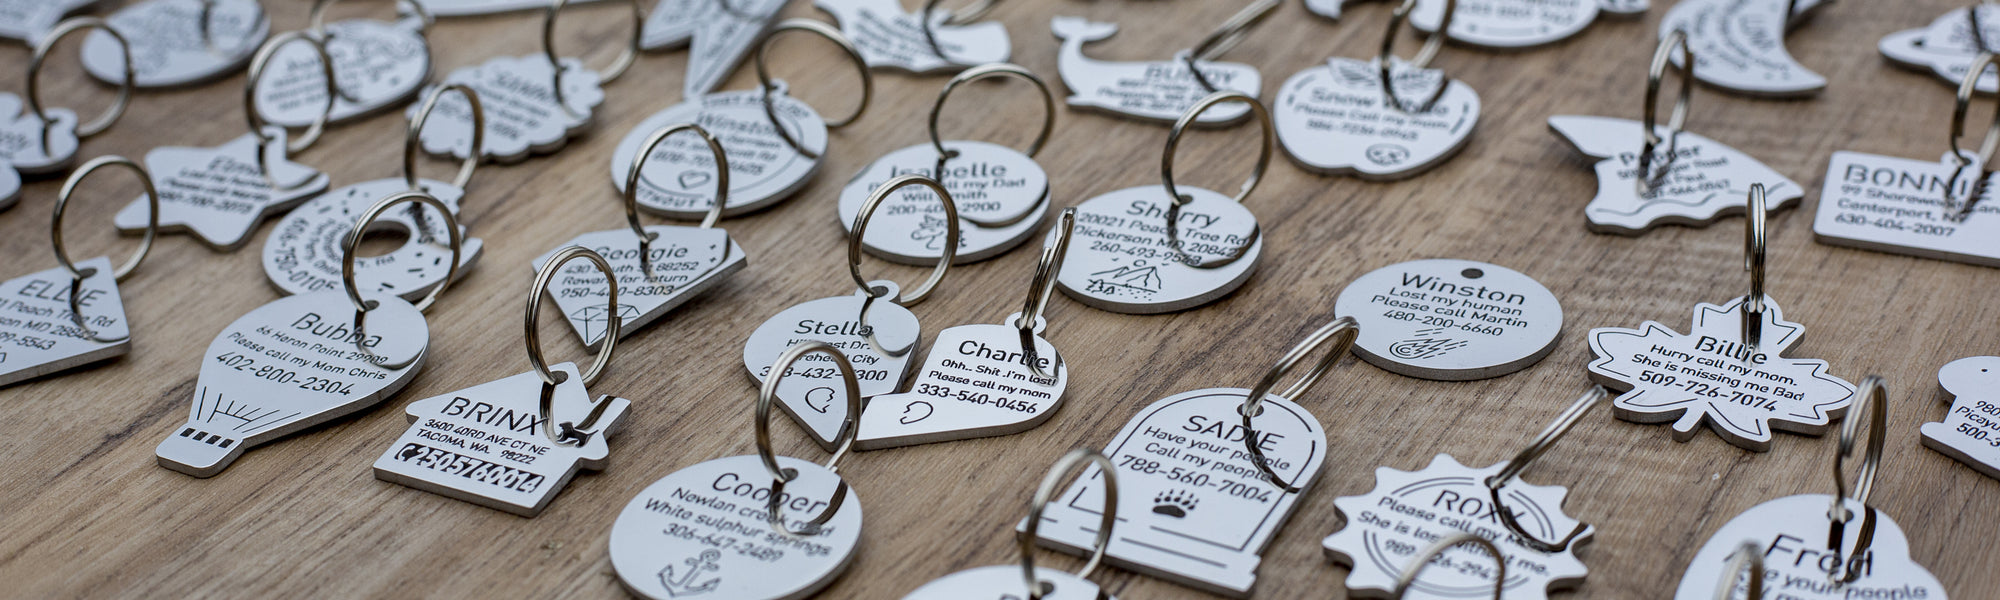
Attachment styles that stay put and stay quiet.
Every shape, laser-cut and custom engraved.
DIY Engraving Kits: Our Guide to Perfect Home Creations


In our quest for personalized treasures, DIY engraving kits have emerged as a creative companion. These tools empower us to etch unique designs onto various materials, transforming ordinary objects into bespoke pieces.
We understand the allure of crafting something truly one-of-a-kind, which is why exploring the potential of these kits can be both exciting and rewarding. With straightforward applications and versatile uses, they offer us an accessible route to customizing gifts, decor, and even personal keepsakes with precision and artistry.
Key Takeaways
-
Start your DIY engraving journey by understanding the various techniques, which can range from simple methods suitable for beginners to more complex processes for creating custom designs.
-
Personalize items with confidence by following a step-by-step engraving process tailored for those new to the craft, ensuring you learn the basics before advancing to more intricate projects.
-
Utilize simple engraving methods to add a custom touch to your creations; these can be easily mastered with practice and patience, even without prior experience.
-
Consider crafting your own engraving tools at home for a more hands-on approach and to save costs, which can also add a unique personal signature to your work.
-
Apply easy tips and tricks shared in the article to enhance the quality of your engravings, leading to results that rival professional workmanship.
-
Invest in a precision engraving pen as recommended for fine details and accuracy, which can significantly improve the overall look of your DIY projects.
Exploring DIY Engraving Techniques
Hand vs Machine
Engraving is an art form that lets us add personal touches to various items. We can choose between hand engraving and machine engraving. Each has its own pros and cons.
Hand engraving gives us a sense of tradition. It's all about control and skill, allowing for unique designs. But it requires steady hands and lots of practice. Machine engraving is faster. It offers precision but might lack the charm of hand-crafted work.
Material Choices
We also explore different materials for our DIY projects. Wood, metal, glass, or even leather can be engraved with the right tools. Each material reacts differently under the engraver's touch.
Wood is soft and forgiving, perfect for beginners to practice on. Metals like copper are harder to work with but offer stunning results when mastered.
Safety First
Safety should never be an afterthought in our adventures with DIY kits. Here are some safety tips we always follow:
-
Wear protective eyewear to guard against flying debris
-
Use gloves when handling sharp tools
-
Keep a first aid kit nearby just in case
Remembering these precautions keeps our creative sessions fun and injury-free.
Personalized Engraving Process for Beginners
Starting Steps
To begin our engraving journey, we first gather our DIY engraving kits. We make sure the kit includes all the necessary tools: an engraver, a variety of bits, and safety equipment.
Firstly, we choose a simple design to practice with. It's crucial to start small to build our skills. We opt for basic shapes or letters as they require less precision.
Simple Engraving Methods for Custom Creations
Stippling Technique
Stippling is a great way to add texture. We use small dots to create depth and dimension. It's like drawing with dots instead of lines.
First, we choose the right tool. A pointed tip works best for stippling. Next, we practice on scrap material. Getting the feel for dot spacing takes time.
Crafting Your Own Engraving Tools at Home
Screwdriver Conversion
We can take old screwdrivers and turn them into engravers. First, choose a screwdriver with a strong handle. Next, using a metal file, reshape the tip to a sharp point. Remember to wear safety goggles.
By heating the tip of the screwdriver over a flame until it's red-hot, we can then cool it quickly in water to harden the metal. This process is called tempering and makes our tool more durable.
Nail Sharpening
Nails are great for making dotting tools. We'll need thick nails for this task. Hold each nail with pliers and grind one end on sandpaper or with a file until it’s sharp.
To make different dot sizes, use various nail thicknesses. Once sharpened, these nails can create fine dots or larger indentations on softer metals like copper or aluminum.
Custom Shapes
Creating custom shapes on tool tips allows us unique patterns in our projects. We begin by sketching designs on paper first—simple stars or spirals work well as starting points. Then we carefully shape the metal tip using files and sometimes even small amounts of heat from something as simple as a candle flame if precision is needed. These customized tools give personal flair to any piece we engrave!
Easy Engraving Tips and Tricks for Quality Results
Steady Hand
Maintaining a steady hand is crucial when using DIY engraving kits. We've found that resting your wrist on a solid surface helps stabilize your movements. It's also helpful to work in short bursts, giving your hand time to rest. Try not to rush; slow and deliberate actions lead to neater results.
Another technique we use is the "anchor point" method. Place the pinky of your engraving hand against the material as an anchor. This provides additional stability while you move the tool with precision.
Clear Visibility
Good lighting is key for clear visibility during engraving projects. We recommend setting up your workspace near a window with natural light if possible. For evening work, use a bright desk lamp positioned above your shoulder, so it shines directly onto the piece without casting shadows from your hands or tools.
A magnifying glass can be very useful too, especially for detailed work on smaller items like jewelry or coins. Some lamps come with built-in magnifiers which makes them perfect for these tasks.
Smooth Surfaces
Before starting any engraving project, preparing materials ensures smooth surfaces free from debris and oils that could hinder the process:
-
Clean the item thoroughly.
-
Sand down any rough areas gently.
-
Ensure it's completely dry before beginning.
Using fine-grade sandpaper works well for smoothing out imperfections on wood or metal surfaces before you start etching into them with our homemade tools mentioned earlier.
Achieving Professional-Looking Engravings with DIY Kits
Top-Rated Kits
We've explored various DIY engraving kits to find the best ones. Our search led us to some top-rated options that are user-friendly and produce excellent results. These kits often come with a variety of bits for different materials, ensuring we have what we need for any project.
The best kits include detailed instructions, which help beginners get started quickly. They also offer a range of bits for intricate designs on wood, metal, or glass. For example, one popular kit includes diamond-tipped bits perfect for delicate glasswork.
Manual vs Electric
Now let's talk about manual versus electric engravers. Both types have their pros and cons which we discovered through hands-on experience.
-
Manual Kits:
-
Pros: Great control and no need for power.
-
Cons: Can be tiring; not ideal for hard materials.
-
Electric Engravers:
-
Pros: Less effort needed; consistent power.
-
Cons: Slightly less control; noise can be an issue.
For those who enjoy the feel of carving directly into material, manual tools are satisfying to use. However, when working on harder surfaces or longer projects, electric engravers save time and reduce hand fatigue.
Finishing Touches
To elevate our engraved pieces further, it’s all about the finishing touches. We found that polishing the piece after engraving makes a significant difference in its professional appearance.
Using fine sandpaper removes any rough edges around our engravings. Then applying a suitable finish — like oil for wood or lacquer for metal — enhances both protection and shine.
Mastering the Art of Engraving Characters and Images
Uniform Spacing
We know that engraving precise characters is a skill. It takes patience and practice to get it right. To help with this, we've found some techniques for keeping character spacing and size consistent.
First, using graph paper as a guide under your workpiece can make a huge difference. The squares help you measure the space between letters without guessing. Another tip is to sketch out the name or words lightly before engraving. This provides a clear path to follow.
Secondly, remember that less is more when starting out. Begin with simple projects like keychains or bookmarks where there's less pressure on perfection.
Layered Depth
Images can be tricky in DIY engraving because they need depth to look real. We'll share how layering methods can create this effect.
Start by outlining your image with a shallow cut. Then gradually go deeper into the material around areas you want to stand out more, like edges or shadows. It's similar to shading when drawing — lighter touches for light areas, heavier marks for shadows.
It’s also helpful to use different point sizes for varied texture and depth in your images.
Practice Makes Perfect
To master complex designs, practice really does make perfect! Here are some exercises we suggest:
-
Start with basic shapes: circles, squares, triangles.
-
Move on to nature-inspired patterns like leaves or flowers.
-
Try copying small parts of larger works until you feel comfortable tackling the whole thing.
Remember these exercises are not just about getting better at engraving; they're about enjoying our time working together on something creative!
Benefits of Using a Precision Engraving Pen
Intricate Work
Precision engraving pens are essential tools for us when doing detailed work. Unlike larger, more cumbersome equipment, these pens allow for fine control and accuracy. We've found that they make it much easier to create complex designs on small surfaces. With a steady hand and a bit of practice, the level of detail we can achieve is remarkable.
The fine tip of an engraving pen means we can add delicate textures or tiny characters with confidence. Whether etching initials into metal jewelry or crafting intricate patterns on wood, the precision pen becomes our trusted ally in bringing visions to life.
Versatile Materials
One of the biggest advantages we've discovered is how versatile these pens are across different materials. We use them on everything from glass to leather without needing to switch tools. This versatility saves us time and lets us experiment with various projects.
A single engraving pen can work its magic on:
-
Metal
-
Wood
-
Glass
-
Leather
Having one tool that adapts to multiple mediums simplifies our creative process immensely.
Ergonomic Design
Lastly, the ergonomic benefits cannot be overstated. Holding bulky tools for long periods often leads to discomfort or fatigue, but precision pens fit comfortably in our hands like regular writing instruments. This design reduces strain and allows us to work longer without taking breaks due to hand cramps or soreness.
Their lightweight nature also enhances maneuverability, letting us maintain consistency even during extended sessions of intricate engravings. For those among us who have faced challenges with heavier equipment before, switching to a precision engraving pen has been nothing short of a revelation.
Final Remarks
Engraving, as we've discovered, is not just a craft but an art form that allows for personal expression and creativity. We've journeyed through various DIY engraving techniques, starting from the basics for beginners to more sophisticated methods using precision engraving pens. Our collective experiences have shown that with patience and practice, anyone can achieve professional-looking results. The joy of crafting unique items with our own hands has been both fulfilling and inspiring.
Let's continue to push the boundaries of our artistic abilities by embracing these engraving skills. Share your masterpieces with the world, or gift them to loved ones as tokens of thoughtfulness. We encourage you to pick up a DIY engraving kit and start your own adventure in the intricate world of engraving today. The possibilities are endless, and the satisfaction is immense. Let's create something remarkable together.
Frequently Asked Questions
What are the basic techniques for DIY engraving?
Basic DIY engraving techniques include hand stippling, etching with an engraver tool, and using chemical etchants. These methods can be learned by beginners to personalize various materials.
Can I create my own engraving tools at home?
Yes, you can craft simple engraving tools at home using steel rods or old screwdrivers that have been sharpened to a point. However, precision and material quality may vary compared to professional tools.
What is the best way for a beginner to start engraving with a lathe and a bit at school?
Beginners should start with easy-to-engrave materials like soft metals or wood and use simple designs. Practicing with a precision engraving pen on scrap material helps in gaining confidence before moving on to more intricate projects.
Are there any quick tips for achieving high-quality engravings on alloys with the right bit?
For high-quality results, always ensure your surface is clean and stable. Use light strokes initially and gradually increase pressure as needed. Regular practice will also improve skill level over time.
How do DIY kits compare to professional engravings?
DIY kits can achieve professional-looking results when used properly. They often come with guides that help maintain consistency in depth and design which is crucial for a polished finish.
Why would I use a precision engraving pen instead of other tools?
A precision engraving pen allows for greater control over detail work due to its fine tip. It's ideal for intricate designs or working on smaller objects where accuracy is paramount.
Can I use a DIY engraving kit to engrave my name and images onto paper surfaces?
Yes, it's possible to master the art of image transfer and then carve out the design into your chosen material using various hand-held or power-driven DIY tools available in most crafting kits.
Leave a comment
Comments will be approved before showing up.